
How to Install LED High Bay Lights: Mounting, Wiring and Safety
How to install LED high bay lights: hook, chain, pendant and bracket mounting, safety cables, wiring the driver, dimming and sensors, high bay vs low bay, spacing, lift safety and commissioning.
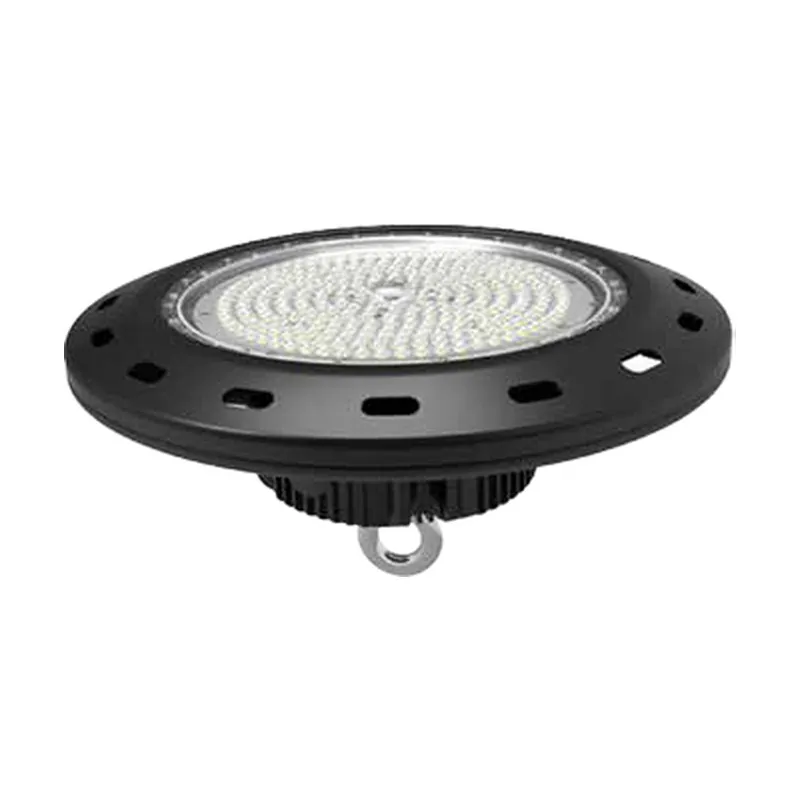
Key points
- High bays hang from hooks, chains or pendants, or mount on brackets; every suspended fixture needs a separate safety cable.
- Wiring is usually live, neutral and earth to the driver, plus two dimming wires for 0–10 V; follow the label and local code.
- High bays suit ceilings above about 6 m; low bays suit 3.5–6 m.
- Plan lifts, aisle closures and the layout before installation, and check light levels after commissioning.
Installing high bays is mostly work at height, so planning matters as much as the electrical work. Done right, a crew can install dozens of fixtures a day with no disruption; done badly, it means repeat trips up a lift.
High bay or low bay?
| High bay | Low bay | |
|---|---|---|
| Ceiling height | Above about 6 m | 3.5–6 m |
| Typical power | 100–300 W | 50–150 W |
| Beam | 60–120° | 90–120° wide |
| Uses | Warehouses, factories, sports halls | Workshops, retail, garages |
For counts and spacing, use the high bay calculator and how many LED high bay lights you need.
Mounting options
| Method | Fixture | Notes |
|---|---|---|
| Hook / ring | UFO high bays | Quick; hook rated for fixture weight |
| Chain | UFO and linear | Adjustable height |
| Pendant rod | UFO | Neat look, fixed height |
| Surface bracket | UFO and linear | Low ceilings, beams |
| Beam clamp | All | Steel structures without drilling |
| V-hooks and chain | Linear | Common in aisles |
Always fit a separate safety cable from the fixture to the structure, independent of the main mounting.
Before installation
- Confirm the layout and mounting height
- Check the structure can carry the weight
- Plan cable routes and circuits
- Arrange lifts and close aisles in sections
- Unpack and check fixtures on the ground; test a few
- Pre-assemble hooks, chains and safety cables on the ground
Wiring
Typical fixture leads:
| Wire | Function |
|---|---|
| Brown or black | Live (line) |
| Blue or white | Neutral |
| Green/yellow or green | Earth (ground) |
| Purple and grey (or pink) | 0–10 V dimming + and − |
Steps:
- Isolate the circuit and lock off
- Connect live, neutral and earth in a junction box or with approved connectors
- Connect dimming wires to the control system, or cap them if not used
- Secure the cable to avoid strain on the fixture
- Label circuits
Always follow the fixture label and local electrical codes; work must be done by a qualified electrician.
Sensors and controls
- Integrated sensors: set sensitivity, delay and dim level before lifting the fixture
- Plug-in sensors: fit to the sensor socket on the fixture
- Wireless controls: commission groups by app after installation
See commercial lighting control systems for settings.
Safety at height
- Use a suitable lift (scissor or boom) with trained operators
- Wear fall protection where required
- Keep the area below closed
- Never stand on racks or use ladders on lifts
- Handle fixtures carefully; heavy high bays need two people
Spacing and alignment
- Follow the layout grid; check with a laser or string lines
- In racked aisles, centre fixtures over aisles, not over racks
- Keep fixtures clear of sprinklers, cranes and skylights
Special environments
| Environment | Note |
|---|---|
| Hot roofs, near furnaces | High-temperature fixtures; see high temperature LED high bay lights |
| Cold stores | Fixtures and drivers rated for low temperatures |
| Washdown areas | IP66/IP69K fixtures, sealed connections |
| Hazardous areas | Certified explosion-proof fixtures and glands |
Commissioning
- Switch on each circuit and check every fixture
- Test dimming and sensors
- Measure light levels on a grid at floor or working height
- Adjust sensor settings for real use
- Record fixture positions, circuits and settings
Replacing metal halide high bays
- Remove old fixtures and ballasts (and recycle lamps, which contain mercury)
- Reuse hooks and cables only if rated for the new fixtures
- Check whether the new layout needs extra or fewer positions
See the HPS and metal halide to LED conversion chart for wattage equivalents.
Common mistakes
- No safety cable
- Fixtures mounted over racks instead of aisles
- Dimming wires left bare
- Sensors left at factory settings
- No light measurement after installation
Planning a large installation
On large projects, productivity depends on preparation. Pre-assemble hooks, chains, safety cables and plug connectors on the ground so each fixture is lifted ready to hang. Group the work by area so each lift move covers several fixtures. Mark fixture positions on the floor below with paint or tape so installers can see where each one goes. Deliver fixtures to the area in advance and remove packaging continuously to keep aisles clear.
Working in operating buildings
Most warehouses keep running during upgrades. Agree on work zones and hours with operations managers, close aisles only where the lift is working and keep temporary lighting where old fixtures have been removed but new ones are not yet connected. Night and weekend shifts often work best for busy distribution centres.
Documentation at handover
Hand over a drawing showing fixture positions and circuits, sensor settings, the fixture datasheets, warranty details and a short maintenance guide. This makes future changes and warranty claims straightforward.
Maintenance after installation
LED high bays need little maintenance, but a simple routine keeps them performing. Clean lenses once a year in dusty buildings, check that safety cables and hooks are secure, review sensor settings when the use of an area changes, and keep a few spare fixtures and drivers on site. Record any failures with the fixture position and date, which helps with warranty claims and shows whether a particular area has a heat or power problem that needs attention from the maintenance team.
Ordering
Send hall plans, heights, racking layout and control preferences. We will propose fixtures, mounting accessories and a layout. Our UFO high bays come with hook, chain and bracket options.
Sources
Frequently asked questions
How do you hang LED high bay lights?
Most UFO high bays hang from a hook or ring bolt fixed to the structure, or from chains or pendant rods. Linear high bays use V-hooks and chains or surface brackets. Always add a separate safety cable to the structure.
How do you wire a high bay light?
Connect the supply live, neutral and earth to the fixture's cable or junction box, following the colour code on the label. For 0–10 V dimming, connect the two dimming wires to the controller. Isolate the circuit and follow local electrical codes.
What is the difference between high bay and low bay lights?
High bays are designed for ceilings above about 6 m, with narrower optics to push light down. Low bays are for 3.5–6 m ceilings, with wider beams to spread light from closer to the floor.