
Landscape Lighting Installation: A Step-by-Step Guide for Projects
How landscape lighting is installed: survey, design, cable routes, transformers or mains circuits, fixture placement, connections, night aiming and handover.
Key points
- Install in this order: survey and design, cable routes, power supply, fixtures, connections, testing, then aim everything at night.
- Low voltage (12 V) suits small gardens; mains circuits with RCD protection suit parks, hotels and long cable runs.
- Most failures come from water: sealed connections, drainage under in-ground lights and correct IP ratings prevent them.
- Final aiming must be done after dark; daytime aiming is only a rough start.
A landscape lighting scheme is only as good as its installation. A well-designed garden can be ruined by cables cut by gardeners, water in connections, or fixtures aimed in daylight that glare at night. This guide follows the order most professional installers use, for homes, hotels, office campuses and parks. For design ideas before you start, see our landscape lighting ideas.
Step 1: Survey
- Walk the site by day and at night
- Mark features to light, paths, steps, entrances and views
- Note power points, existing cables, irrigation pipes and drains
- Note trees that will grow, and areas that are mown or dug
- Photograph each feature from where it will be seen
Step 2: Lighting plan
The plan shows every fixture, its type, beam and wattage, and the circuits.
| Item on the plan | Why |
|---|---|
| Fixture positions and types | Ordering and setting out |
| Beam angles | Getting the effect right |
| Circuits and their loads | Transformer or breaker sizing |
| Cable routes | Avoid roots, pipes and future digging |
| Switching and controls | Timers, photocells, zones |
| Junction box positions | Accessible for maintenance |
Step 3: Choose the system
| Low voltage (12–24 V) | Mains (100–240 V) | |
|---|---|---|
| Best for | Homes, small gardens | Parks, hotels, campuses |
| Cable runs | Short to medium; voltage drop limits them | Long |
| Safety | Very safe for people and pets | Needs RCD protection and correct burial |
| Flexibility | Easy to move fixtures | Fixed |
| Installer | Homeowner or electrician for the transformer | Qualified electrician |
Our in-ground, spot and bollard lights are mains-voltage (AC 100–240 V); the wall washers run on DC 24 V from separate drivers.
Step 4: Cable routes and trenching
- Follow edges of beds and paths where future digging is unlikely
- Keep away from tree trunks to avoid roots
- Use conduit under paved areas and roads, with spare ducts for later
- Bury at the depth required by local code; mains cables usually in conduit at greater depth
- Lay warning tape above buried cables
- Record the routes on an as-built drawing
Step 5: Power supply and protection
- Low voltage: transformer sized at about 80% of the connected load, mounted at least 0.3 m above ground, with a timer or photocell
- Mains: dedicated circuits from a weatherproof distribution board, with RCD (30 mA) protection, correctly sized breakers and earthing
- Surge protection in areas with lightning
- Controls: astronomical timers or photocells; zones so decorative lights switch off late while path lights stay on
Step 6: Install fixtures
Spotlights on stakes or bases: set firmly so they do not tilt when someone brushes them. For larger landscape spotlights, use concrete bases or fixed brackets.
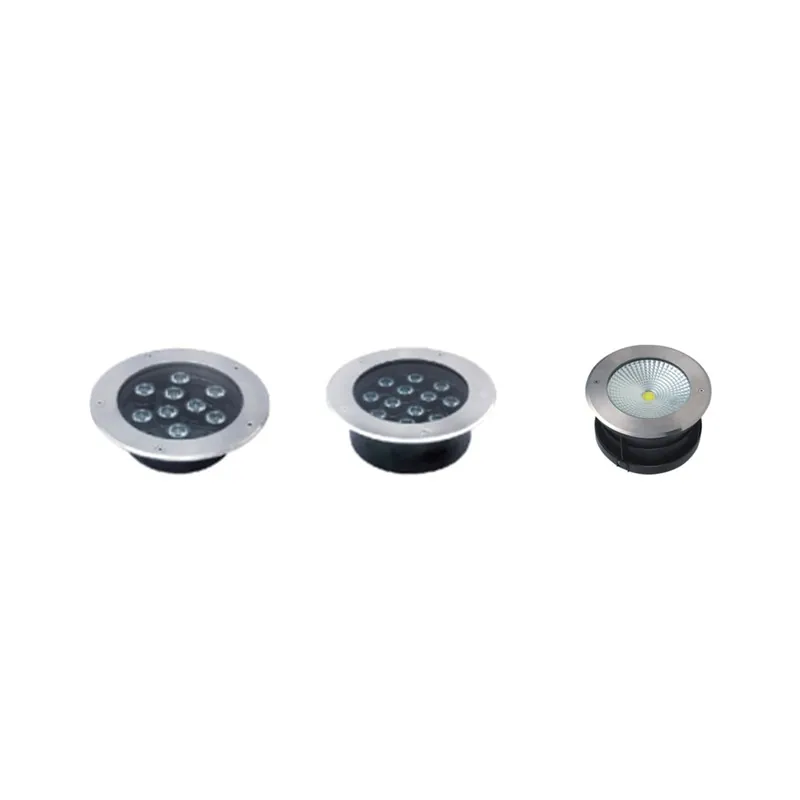
In-ground uplights:
– Dig deeper than the fixture and fill with 100–200 mm of gravel for drainage
– Set the top flush or slightly above finished ground so water runs off
– In clay soils, add a drain or soakaway; a buried light standing in water fails early
– Our in-ground uplights are IP65 as standard with IP67 on request; specify IP67 where flooding is possible
Bollards and post lights: set on concrete footings with anchor bolts, level and plumb, with the cable entering through the base.
Wall and step lights: use the manufacturer’s back box; seal cable entries.
Step 7: Connections
Water in connections causes most landscape lighting faults.
- Use gel-filled or resin-filled connectors, or IP68 junction boxes
- Keep connections above ground in accessible boxes where possible
- Leave a service loop of cable at each fixture so it can be lifted
- Never use indoor connectors or tape outdoors
See our IP rating guide for which rating each location needs.
Step 8: Test
- Insulation resistance and earth continuity for mains circuits
- RCD trip test
- Voltage at the last fixture on low-voltage runs (should stay within the fixture’s range)
- Every fixture on, controls working
Step 9: Aim at night
This is where an installation becomes a design.
- Start with the main focal points
- Adjust each beam to light the feature, not the sky or the neighbours
- Check from every main viewpoint: the house, the terrace, the entrance, the road
- Look for glare along paths and steps
- Balance: dim or re-aim fixtures that are too bright relative to their neighbours
- Lock the aiming screws
Use the angle scale on fixture brackets where available, and record the angles for maintenance.
Step 10: Handover
- As-built drawing with fixtures, circuits and cable routes
- Fixture schedule with models, beams, wattages and angles
- Control settings (timer, photocell, zones)
- Maintenance schedule
- Spare lamps or fixtures from the same batch
Common installation mistakes
| Mistake | Result |
|---|---|
| Aiming in daylight only | Glare and missed features at night |
| No drainage under in-ground lights | Water ingress, failure in months |
| Indoor connectors outdoors | Corrosion and tripping |
| Cables across beds | Cut by gardeners |
| Overloaded low-voltage runs | Dim fixtures at the end of the run |
| No as-built drawing | Costly repairs later |
Maintenance after installation
Clean lenses once or twice a year, trim plants, check connections and re-aim after storms or pruning. Keep the as-built drawing with the site manager.
Projects
For hotels, parks, campuses and residential developments, send us the lighting plan or the site plan with features marked. We supply in-ground, spot, flood, bollard, post and wall-washing fixtures with matching drivers and can advise on circuits and cable sizes.
Sources
Frequently asked questions
How much does landscape lighting installation cost?
It depends on the number of fixtures, cable length, the type of system and local labour rates. Fixtures are often a third to half of the cost; cabling, trenching, transformers or distribution boards, and labour make up the rest. Get a quotation based on a lighting plan rather than a price per light.
How deep should landscape lighting cable be buried?
Low-voltage cable is often buried around 150 mm deep, mains cable much deeper in conduit, commonly 450–600 mm, depending on local electrical codes. Always follow the local wiring regulations and mark cable routes on the as-built drawing.
Can I install landscape lighting myself?
Plug-in low-voltage garden kits are designed for homeowners. Mains-voltage circuits, distribution boards and public spaces must be installed by a qualified electrician according to local codes.