
High Bay Occupancy Sensors: PIR vs Microwave, Mounting Height, Settings and Savings
How occupancy sensors work on LED high bays: PIR vs microwave detection, coverage at 6–15 m, hold time, standby dimming, daylight sensing, aisle use, wiring and typical energy savings.
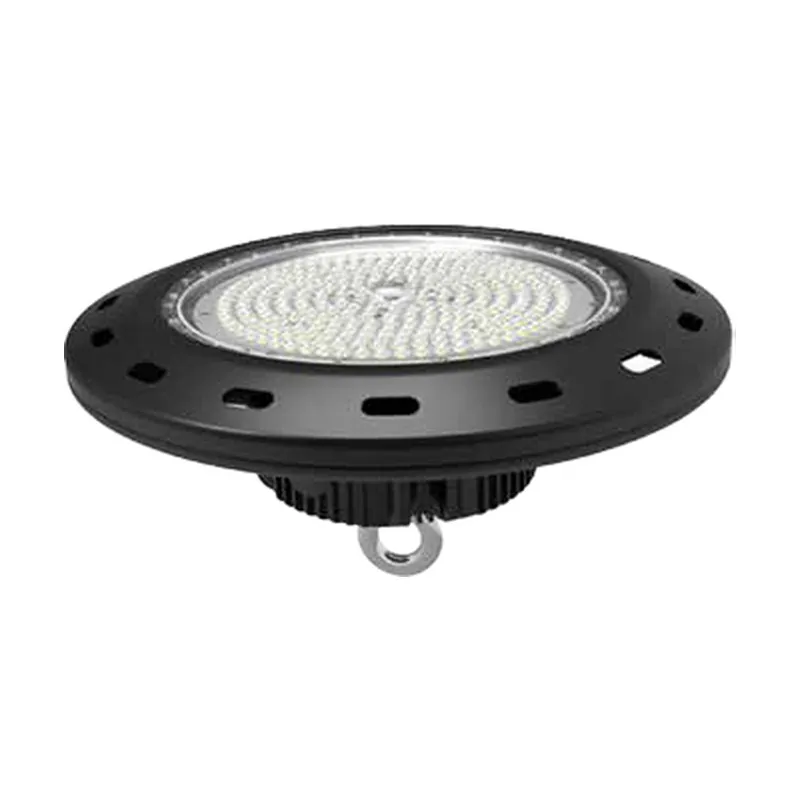
Key points
- Occupancy sensors on high bays switch or dim lights when nobody is present, often saving 30–60% in warehouses with intermittent use.
- Microwave sensors detect movement through more of the space and suit high ceilings; PIR sensors are precise and less prone to false triggers.
- Dimming to a standby level (10–30%) instead of switching off keeps aisles visible and avoids frequent full starts.
- Set hold time, sensitivity and standby level for each area, and add daylight sensing near skylights.
LED high bays already use far less energy than metal halide. In many warehouses, though, lights still burn all shift in aisles where nobody is working. Occupancy sensors fix that by dimming or switching lights when spaces are empty. This guide explains how they work and how to set them up.
Where sensors save the most
- Warehouse aisles: people and forklifts visit each aisle occasionally
- Cold stores and freezers: often empty, and LEDs work well at low temperatures
- Storage areas and mezzanines
- Loading docks between deliveries
- Car parks and garages under cover
In continuously occupied production halls, savings are smaller, though daylight sensing may still help.
Types of sensor
PIR (passive infrared)
Detects heat movement of people within its view.
- Pros: reliable, low false triggering, cheap
- Cons: needs line of sight; coverage falls at greater heights; slow-moving or distant people may be missed
Microwave (radar)
Emits low-power microwave signals and detects movement from reflected waves.
- Pros: detects motion over a wider area and through light obstacles; works well at high mounting heights and in cold rooms
- Cons: can trigger from moving objects, fans or through thin partitions if too sensitive
Dual-technology
Combines both; requires both or either to detect, reducing false triggers.
Mounting height and coverage
| Mounting height | Typical coverage diameter (microwave) |
|---|---|
| 6 m | 12–16 m |
| 9 m | 14–18 m |
| 12 m | 16–20 m |
| 15 m | Check maker’s data |
PIR coverage patterns vary with lens design; aisle lenses give long, narrow coverage. Always check the manufacturer’s coverage diagram for your height.
Key settings
Hold time. How long lights stay at full output after the last detection, often 1–30 minutes. Short times save more energy; too short causes lights to dim on people working still.
Standby level. The dimmed output when no one is detected, often 10–30%. Keeps aisles visible and avoids dark spaces.
Standby time. How long lights stay at standby before switching off, if at all. Many warehouses keep lights at standby indefinitely during working hours.
Sensitivity. Adjust so forklifts and people trigger lights, but not neighbouring aisles or passing vehicles.
Daylight threshold. Stops lights coming on or reduces output when daylight from skylights is enough.
Group control
In aisles, it helps if several fittings respond together: when one sensor detects a forklift, lights ahead in the aisle also brighten. This is done with:
- Wired groups (sensor controls several fittings through 0–10 V or DALI)
- Wireless networked sensors that share detections
- Corridor-function settings
Typical savings
| Area | Typical saving from sensors |
|---|---|
| Warehouse aisles | 40–70% |
| Cold stores | 50–80% |
| General storage | 30–60% |
| Production areas | 10–30% (mainly daylight) |
Combined with the 50–70% saving from replacing metal halide with LED, total savings can exceed 80%. The LED retrofit savings calculator helps estimate them, and the warehouse LED lighting upgrade guide shows a full example.
Why LED and sensors go together
Metal halide lamps take minutes to warm up and cannot restrike when hot, so they could not be switched by sensors. LEDs start instantly and are not damaged by frequent switching or dimming. This is what makes sensor control practical in warehouses.
Wiring and integration
- Integrated sensors: plug into the high bay’s sensor port; easiest for retrofits
- Separate sensors: mounted on the ceiling and wired to groups of fittings
- Networked systems: wireless or DALI, with central settings and energy reporting
For building-wide control, see commercial lighting control systems.
Commissioning
Set and test each area:
- Walk and drive through aisles to check detection
- Adjust sensitivity to avoid false triggers
- Set hold time and standby levels for each use
- Check daylight thresholds near skylights at midday
- Record settings for maintenance staff
Safety considerations
Make sure lights cannot switch fully off where people may be working without much movement, near machinery, or on routes where sudden darkness would be dangerous. Keep emergency lighting independent of sensor controls.
Choosing high bays with sensors
Our UFO LED high bays and linear high bays can be ordered with dimmable drivers for sensor control; tell us whether you need integrated sensors, and which type, when asking for a quotation. The high bay lighting calculator works out the number of fittings for your space; see also UFO vs linear high bays.
Common mistakes with sensors
The most frequent problem is lights switching off on people who are working but not moving much, such as pickers scanning at a shelf or staff at a packing bench. This is solved by longer hold times in work areas, standby dimming rather than switching off, and sensors with suitable detection patterns. The second problem is false triggering: microwave sensors set too sensitive can see through racking or thin walls and keep lights on in empty aisles. Lowering sensitivity or switching to PIR in those areas fixes it. The third is forgetting daylight: sensors that bring lights to full output under bright skylights waste energy. Checking these points after a few weeks of real operation usually adds a further saving at no cost.
Sensors and lamp life
Frequent switching and dimming does not harm LED high bays, unlike metal halide. In fact, running at standby for much of the day lowers LED and driver temperatures, which tends to extend their life. Choose drivers rated for frequent switching cycles if lights will switch fully on and off many times an hour.
Planning checklist
- Map areas by use: aisles, open storage, production, docks
- Choose sensor type and coverage for mounting height
- Decide grouping and standby levels
- Plan daylight zones near skylights
- Commission and record settings
- Review after a month of operation
Send us your warehouse layout, ceiling heights and working patterns, and we will propose fixtures and control settings together.
Sources
Frequently asked questions
Do high bay lights need occupancy sensors?
Not always, but in warehouses, cold stores and aisles that are empty much of the time, sensors usually save a lot of energy. In continuously occupied production areas, the savings are smaller.
Which is better for high bays, PIR or microwave sensors?
Microwave sensors usually work better at high mounting heights and for detecting movement along aisles. PIR sensors are better where false triggers from moving objects or through thin walls must be avoided. Some sensors combine both.
How high can occupancy sensors work on high bays?
Many high-bay sensors are designed for 6–15 m mounting heights. Check the coverage pattern for your height, as detection areas get larger but weaker as height increases.