
Parking Lot Lighting Installation: From Layout to Commissioning
How parking lot lighting is installed: layout, trenching and conduit, foundations, raising poles, wiring and controls, night testing, and working without closing the car park.
Key points
- Install in this order: photometric layout, utility locate, trenching and conduit, foundations, pole erection, wiring, heads and controls, then testing at night.
- Foundations need time to cure before poles go up; anchor bolt templates keep bolt patterns accurate.
- Phasing work by sections keeps most of the car park open during installation.
- Solar poles avoid trenching across existing asphalt but need careful positioning for sun and theft protection.
Installing parking lot lighting is part civil works, part electrical work, part lighting design. Good installations follow a clear sequence, keep the car park usable during the work and finish with lights aimed and tested at night. This guide covers new installations and upgrades. For pole selection and spacing, see our parking lot light pole guide.
Step 1: Photometric layout
A photometric layout places poles and fixtures to meet the required light levels and uniformity, and checks light spill at the boundary.
- Target levels: typically 5–20 lux average depending on use, higher at entrances and pay stations
- Uniformity: avoid dark patches between poles
- Spill and glare: limit light crossing into housing and roads
- Pole positions that avoid parking bays, drainage and services
Our pole height and spacing calculator gives a quick check of pole height and spacing; for permits, a full photometric study is usually required.
Step 2: Utility locate and survey
- Locate existing underground services: power, water, gas, telecom, drainage
- Survey levels and kerbs
- Mark pole positions on site
- Check overhead lines near pole positions and crane routes
Step 3: Trenching and conduit
| Item | Good practice |
|---|---|
| Route | Along kerbs and islands where possible |
| Conduit | Rigid or HDPE duct, sized for future cables |
| Depth | As local electrical code requires |
| Crossings | Directional drilling under existing asphalt to avoid cutting |
| Pull boxes | At changes of direction and long runs |
| Warning tape | Above conduits |
Cutting and patching asphalt is expensive and leaves visible scars. Directional drilling or using solar poles at isolated positions can save money on existing car parks.
Step 4: Foundations
- Excavate to the design size (often 0.6–0.8 m across and 1.5–2.5 m deep for 6–9 m poles; confirm with the engineer)
- Place reinforcement cage if specified
- Set the anchor bolt cage with a template to the base plate pattern
- Insert conduit sweeps into the foundation
- Add an earth rod or earthing conductor
- Pour concrete, level the top, form a raised plinth in parking areas
- Cure for the specified time before loading, often several days
Check bolt projection, orientation and level before the concrete sets.
Step 5: Erecting poles
- Lift with a crane or boom truck, using slings rated for the load
- Fit levelling nuts on the anchor bolts
- Lower the pole onto the bolts, plumb it with the levelling nuts
- Fit top nuts and tighten to the specified torque
- Grout or cover the base as specified; leave drainage if required
- Fit base covers
Step 6: Wiring
- Pull cables through conduits; size for voltage drop on long runs
- Fuse or breaker at each pole base if specified
- Use sealed connectors in the hand-hole
- Earth each pole and fixture
- Label circuits
Step 7: Fixtures and controls
- Fit LED heads on the arms or spigots, with the right tilt
- Set optic orientation: forward-throw optics facing into the lot
- Fit photocells, timers or smart controllers
- Program dimming schedules if used
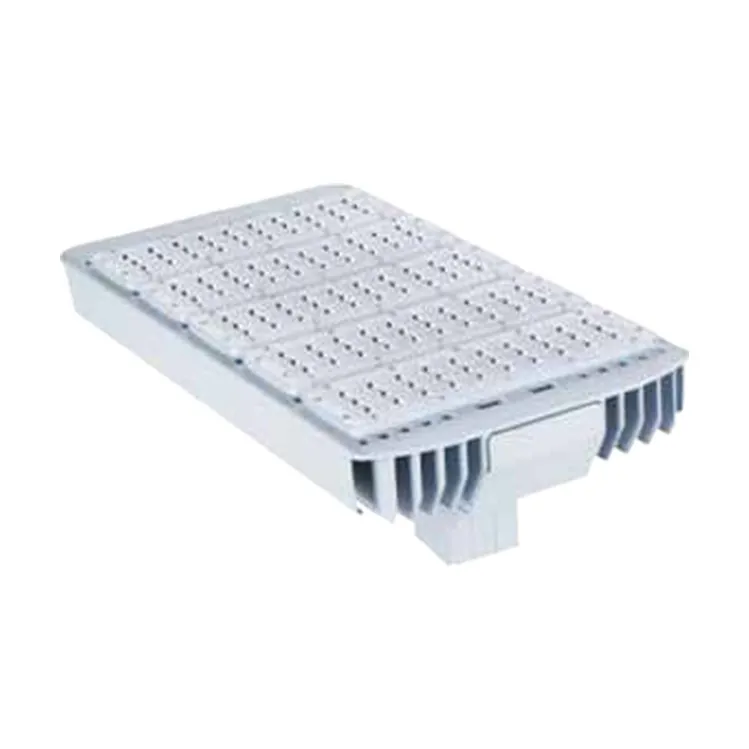
Our modular LED street lights are common car park heads; the module count is chosen for the pole height, and optics for perimeter or centre positions.
Step 8: Testing and commissioning
- Insulation resistance and earth tests
- Check voltage at the furthest pole
- Switch on and check every light
- Check controls: photocell response, timer schedules, dimming
- Night survey: measure light levels at grid points, look for dark areas and glare
- Adjust tilt or optics where needed
Step 9: Handover
- As-built drawings with pole positions, conduit routes and circuits
- Fixture schedule and settings
- Test records
- Maintenance plan and spare parts
Keeping the car park open
| Approach | How |
|---|---|
| Phase by section | Close one section at a time |
| Night or off-hours work | Trenching and lifts when the car park is quiet |
| Temporary lighting | In closed sections at night |
| Traffic management | Barriers, signs, banksmen for lifts |
Upgrading existing lots
If poles and foundations are sound, the job may just be head replacement:
- Check pole condition and bolts
- Confirm arm or spigot size
- Replace heads with LED, one visit per pole
- Add controls and dimming
- Night check
This can be done in a day or two for many lots, compared with weeks for new poles.
Solar parking lot poles
Solar poles need no trenching, which suits existing lots without spare ducts, remote parking areas and temporary sites. Installation still needs a good foundation, often larger because of panel wind load, and panels must face the sun without shade. See solar parking lot lighting for sizing and our solar street light installation guide for steps.
Typical problems found at commissioning
| Problem | Usual fix |
|---|---|
| Dark patches between poles | Re-aim heads, change optic or add a pole |
| Glare towards a road or houses | Tilt down, add shields, change optic |
| Lights cycling at dusk | Photocell seeing other lights; re-aim or shield |
| Lights dim at far poles | Voltage drop; check cable size |
| Water in pole bases | Seal conduits, add drainage |
Record every adjustment so the maintenance team can restore aiming after repairs.
Safety
- Lock-off electrical circuits during work
- Exclusion zones under lifts
- Barriers around open trenches and foundations
- Qualified electricians for all wiring
Ordering
Send the site plan, preferred pole height, existing services and the light level wanted. We will propose poles, heads and a layout, and can provide foundation and bolt drawings.
Sources
Frequently asked questions
How long does parking lot lighting installation take?
For a typical retail car park with 10–20 poles, from a few days to a few weeks, depending on trenching, foundation curing time and whether work must be phased around opening hours. Replacing heads on existing poles can take only a day or two.
Do parking lot lights need a permit?
In most places, yes: an electrical permit and often planning approval for new poles, especially near roads and housing. Some areas also have light pollution rules that limit height, colour temperature and light trespass.
How are parking lot light poles installed?
A concrete foundation with cast-in anchor bolts and conduit is poured and left to cure. The pole is lifted with a crane or truck, set on the bolts, levelled with nuts, and the nuts are tightened. Then the head is fitted, wired and tested.