
How to Install a Solar Street Light: Foundation, Pole, Panel and Commissioning
A step-by-step guide to installing all-in-one and split solar street lights: site survey, foundation and anchor bolts, pole erection, panel orientation and tilt, battery connection, controller settings and commissioning checks.
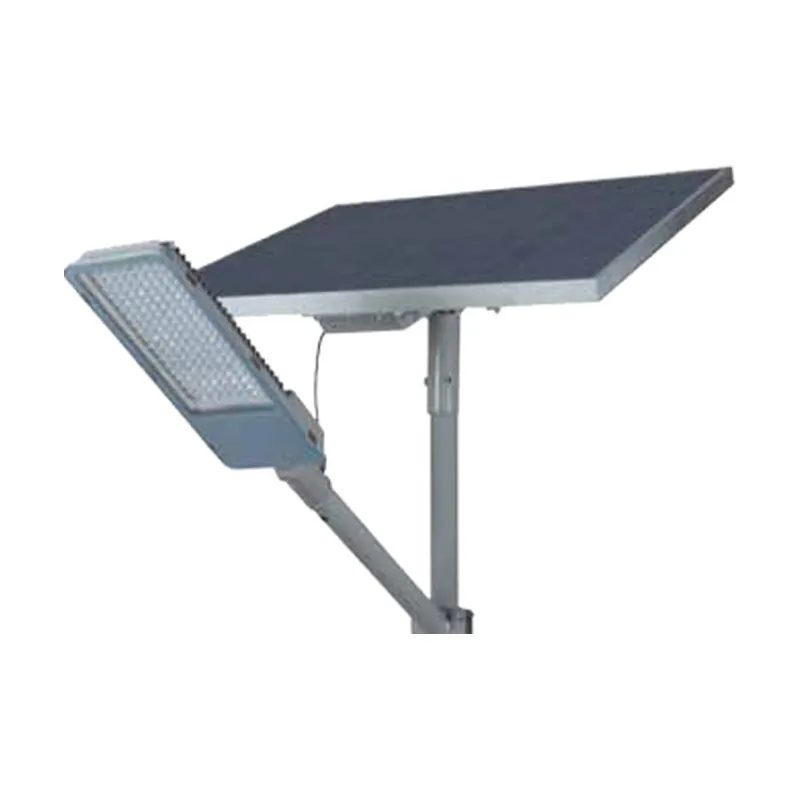
Key points
- Survey first: check shade, soil, underground services and access before digging.
- Most failures come from the foundation, the panel angle and loose connections, not from the light.
- Face the panel towards the equator, tilted roughly at the site's latitude (minimum 10–15° so rain cleans it).
- Connect the battery before the panel, set the schedule, and test the light at dusk before handing over.
A solar street light is simpler to install than a grid-powered one: no trench, no cable run, no connection to the network. But “simpler” does not mean “nothing can go wrong”. Many solar street light failures trace back to installation: a shaded panel, a panel facing the wrong way, a weak foundation or a loose connector. This guide walks through the installation of all-in-one and split systems step by step.
1. Survey the site
Before any digging:
- Shade. Check for trees, buildings and other poles that shade the panel between about 9:00 and 15:00, including in the season when the sun is lowest. A shaded panel can lose most of its output.
- Spacing and layout. Mark the pole positions from the lighting layout; see the pole height and spacing guide or the pole spacing calculator.
- Underground services. Locate cables, pipes and drains before excavating.
- Soil and access. Note soft ground, slopes, flood levels and access for a lifting vehicle.
Before the lights arrive: storage and handling
- Store batteries cool and dry, out of direct sun. Lithium batteries are usually shipped part-charged; if they will sit in a store for more than a few months, ask the supplier whether they need a top-up charge.
- Keep panels flat in their boxes until installation; a panel stood on its edge in the wind or leaned against a wall is easily cracked.
- Check the delivery against the packing list: brackets, anchor bolt cages and templates, fixings, connectors, remote controls or programming tools.
- Charge-test a sample if the lights will be installed weeks after delivery: put it in the sun for a day and run it overnight.
Tools, team and safety
A typical crew for pole-mounted solar lights is three or four people with a lifting vehicle or truck crane. Plan for:
- Working at height: a mobile elevating work platform or a crane basket for anything above about 4 m, with harnesses.
- Traffic management: cones, signs and a banksman when working beside a live road.
- Lifting: slings rated for the pole weight; never lift a pole by its arm or panel bracket.
- Electrical safety: solar panels produce voltage whenever there is light. Cover the panel or keep it disconnected while wiring, and never short battery terminals.
- Tools: torque wrench for the anchor nuts, spirit level, compass or phone compass for panel orientation, inclinometer for tilt, multimeter, and the controller programming tool.
2. Build the foundation
The foundation size depends on pole height, panel area, soil and the design wind speed, and should come from the supplier’s pole calculation. Typical steps:
- Excavate the pit to the specified size.
- Place the anchor bolt cage using the supplied template, so the bolt circle matches the pole’s base plate.
- Check the cage is vertical and level, with the correct bolt projection above the concrete.
- Pour concrete, vibrate it, and protect the threads.
- Let it cure for the specified time before erecting the pole.
For budgeting only, foundations for solar street light poles in normal soil and moderate wind are often in this range. Always use the design for your site, because wind speed, soil and panel area change the size considerably:
| Pole height | Indicative foundation (L × W × depth) |
|---|---|
| 4–6 m | about 0.5 × 0.5 × 0.8–1.0 m |
| 7–8 m | about 0.6 × 0.6 × 1.0–1.2 m |
| 9–10 m | about 0.7–0.8 × 0.7–0.8 × 1.2–1.5 m |
Split systems carry a larger panel high up, which acts like a sail, so they generally need bigger foundations than all-in-one lights on the same pole height.
3. Assemble on the ground
Assembling at ground level is safer and faster:
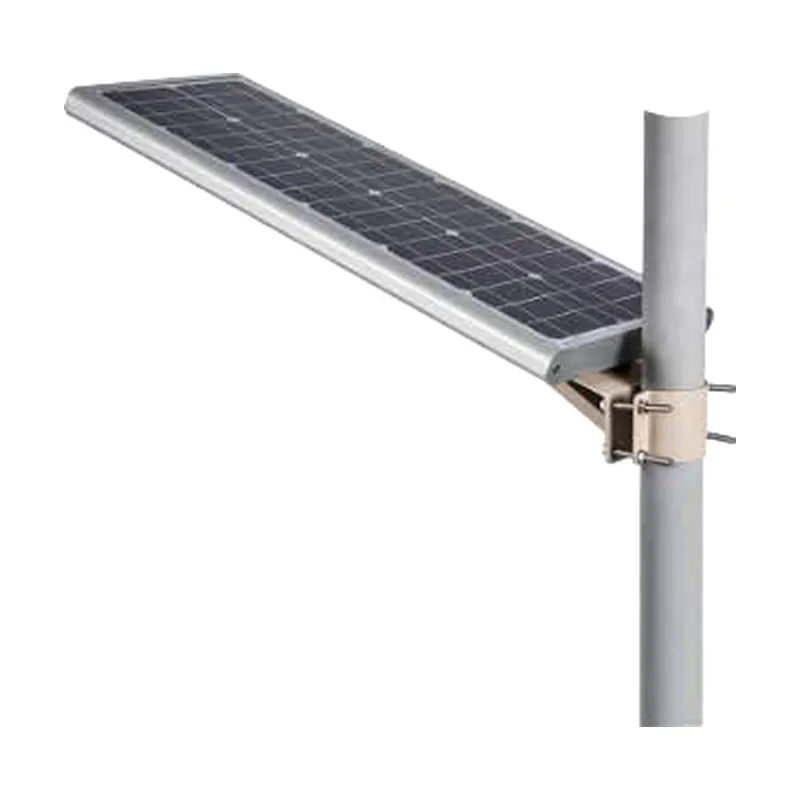
- All-in-one: fix the light to the bracket or arm, set the bracket angle, and check the housing is closed and sealed.
- Split: mount the luminaire on the arm and the panel on its bracket at the top of the pole; run the cables through the pole; mount the battery box (on the pole, in a cabinet or in a buried enclosure, as designed).
4. Orient and tilt the panel
- Direction: towards the equator. South-facing in the northern hemisphere, north-facing in the southern hemisphere.
- Tilt: roughly equal to the site’s latitude for year-round output, steeper if winter output is critical. Even at the equator, use at least 10–15° so rain can clean the glass.
Examples:
| Site | Latitude | Panel faces | Suggested tilt |
|---|---|---|---|
| Lagos, Nigeria | 6.5° N | South | 10–15° |
| Manila, Philippines | 14.6° N | South | about 15° |
| Nairobi, Kenya | 1.3° S | Either; north slightly better | 10–15° (for self-cleaning) |
| Johannesburg, South Africa | 26° S | North | 25–35° |
| Cape Town, South Africa | 34° S | North | 35–45° (winter is critical) |
A phone compass points to magnetic north, which can differ from true north by several degrees; for most sites that makes little difference to output, but on high-latitude sites correct for it.
- All-in-one lights have a fixed panel angle relative to the housing, so the bracket angle and the arm direction set the panel orientation. Plan the arm direction with this in mind.
5. Erect the pole
Lift the pole with a crane or lifting vehicle, lower the base plate onto the anchor bolts, level it with the leveling nuts, then tighten the top nuts to the specified torque. Fit the base cover and any anti-theft fixings.
6. Connect and set the controller
Order matters. On most systems, connect the battery to the controller first, then the panel, then the LED load. Follow the controller manual; connecting the panel first can damage some controllers.
Then set:
- Dusk switching threshold
- Lighting schedule (for example 100% for 5 hours, then 30%)
- Motion sensing levels and hold time, if used
- Low-battery dimming thresholds
7. Commission
- Cover the panel (or wait for dusk) and confirm the light switches on
- Check each step of the schedule, using the controller’s test mode if it has one
- Walk under the light to test the motion sensor
- Record the pole number, battery batch, installation date and settings for each light
Common installation mistakes
- Panels facing the wrong way, because the arm direction was chosen for the road, not the sun.
- Shade that appears later, from trees that grow or buildings that go up.
- Undersized foundations in soft ground or windy sites.
- Loose or unsealed connectors in split systems, which corrode in humid climates.
- Default controller settings that do not match the design schedule.
Handover and maintenance plan
Give the owner a record for each light (pole number, GPS position, battery batch, settings) and a simple maintenance plan:
| Interval | Task |
|---|---|
| Every 6–12 months (more often in dusty areas) | Clean the panel; check for new shade; check the light runs the full night |
| Every year | Check pole bolts, bracket fixings and battery box seals; check for corrosion |
| After storms | Check panel and luminaire angles; look for physical damage |
| Years 5–8 | Test or replace batteries according to their condition |
A light that is cleaned and checked once a year will usually run until its battery reaches the end of its life; one that is never visited often fails much earlier from dust and shade.
Before you install: check the sizing
Installation cannot fix an undersized system. Check the panel and battery against your site’s worst-month sun hours with the solar street light calculator and the battery autonomy calculator. We send installation drawings, foundation details and controller settings with every order of our solar street lights.
Sources
Frequently asked questions
How long does it take to install a solar street light?
Once the foundation has cured, an all-in-one light can be mounted in 20–40 minutes with a lifting platform. A split system takes longer because the panel, battery and wiring are installed separately. Concrete foundations typically need several days to cure before the pole is erected.
Which way should a solar street light panel face?
Towards the equator: south in the northern hemisphere, north in the southern hemisphere. Tilt it at roughly the site's latitude, at least 10–15° even near the equator, so rain washes dust off.
Does a solar street light need an electrician?
No grid connection is needed, but the battery, controller and wiring are electrical work. Follow local rules; trained installers should connect batteries and set controllers.