
Landscape Lighting Repair: Fixing Low-Voltage Systems, Parts and When to Call a Service
How to repair low voltage landscape lighting: dead fixtures, transformer, timer and photocell faults, cable cuts, corroded connectors, replacement parts and when to call a repair service.
Key points
- Most landscape lighting faults are in four places: the transformer and its timer or photocell, cable cuts, corroded connectors and failed lamps.
- If the whole system is dead, start at the transformer; if one run is dead, look for a cable cut; if one light is out, check its lamp and connector.
- Replacement parts include lamps, LED modules, lenses, gaskets, connectors, stakes, cable and transformers; standard sizes make repair easier.
- Call a repair service for repeated faults, transformer replacement, mains-side work or a system that needs redesigning.
Low-voltage landscape lighting is reliable when installed well, but sooner or later lights go out. Spades cut cables, connectors corrode, lamps fail and timers drift. Most faults can be found with a simple process and a multimeter. This guide covers how to diagnose problems, which parts can be replaced and when to call a repair service.
Safety first
Low-voltage systems run at 12–15 V on the lighting side, which is safe to touch, but the transformer is connected to mains power. Unplug or isolate the transformer before opening it. Any work on the mains supply, outlets or hard-wired transformers should be done by a qualified electrician.
Step 1: Is everything out, one run, or one light?
The pattern of the fault tells you where to look:
- Everything is out: transformer, its supply, timer or photocell
- One run (one cable) is out: a cut or disconnected cable, or a tripped output on the transformer
- Several lights at the end of a run are dim: voltage drop from a long or overloaded cable
- One light is out: lamp, LED module, socket or connector at that light
- Lights flicker: loose or corroded connections
Step 2: Check the transformer
- Check the mains outlet or breaker feeding it, and any GFCI/RCD that may have tripped
- Check that the timer is set to the correct time and on/off settings; after a power cut, mechanical timers lose time
- Cover the photocell to check if it switches the lights on
- Check the transformer’s own fuse or breaker
- Measure the output voltage at the terminals with the lights connected: it should be roughly 11–15 V AC depending on the tap used
If there is mains power in but no low voltage out, the transformer has likely failed and needs replacing. Replace it with one rated for at least the total load plus about 20% spare capacity.
Step 3: Find cable faults
Cables are the most common failure. They are cut by spades, edgers, aerators and burrowing animals, or crushed under paths.
- Measure voltage at the first and last lights on the dead run
- Walk the cable route and look for recent digging, new plants or edging
- Check where cables pass under paths or near trees whose roots may have moved
- A cable fault locator can trace the break on long or buried runs
Repair a cut by cutting out the damaged section, joining the cable with waterproof gel-filled connectors or heat-shrink butt splices, and burying the joint in a small valve box if possible so it can be inspected later.
Step 4: Fix connectors and voltage drop
Cheap piercing connectors are a frequent cause of dim or flickering lights. Over a few seasons, water gets in and the contacts corrode. Replace them with sealed, gel-filled connectors.
If lights at the end of a run are dim, the cable may be too long or too thin for the load. Options:
- Split the run into two and feed each from the transformer
- Use a thicker cable, such as 10 or 12 AWG instead of 14 or 16
- Use a higher voltage tap on a multi-tap transformer for long runs
- Feed the run from the middle (a T-method) instead of the end
Our low voltage landscape lighting guide explains cable sizing and voltage drop in more detail.
Step 5: Repair the light itself
- Lamp failed: replace halogen MR16 or bi-pin lamps with the same base type; consider LED replacements of the same base, which use far less power
- LED module failed: some fixtures have replaceable modules; integrated fixtures may need replacing whole
- Water inside: dry the fixture, replace the gasket or lens seal, and check that the cable entry is sealed and pointing down
- Corroded socket: clean or replace the socket; use dielectric grease on contacts
- Broken stake or bracket: replace with the same fitting size
Common replacement parts
| Part | Notes |
|---|---|
| MR16, MR11, bi-pin and wedge lamps | Match base and voltage; LED versions use less power |
| LED modules | Only on fixtures designed for them |
| Lenses and glass | Often available from the fixture maker |
| Gaskets and O-rings | Key to keeping water out |
| Connectors | Use sealed, gel-filled types |
| Ground stakes, brackets and mounts | Standard thread sizes help |
| Direct-burial cable | 10–16 AWG depending on run length and load |
| Transformers, timers and photocells | Size for load plus spare capacity |
Fixtures that use standard lamps and parts are easier to keep running for many years than closed designs with proprietary parts.
Upgrading during repair
A repair visit is a good time to upgrade:
- Replace halogen lamps with LED to cut the load, which also reduces voltage drop
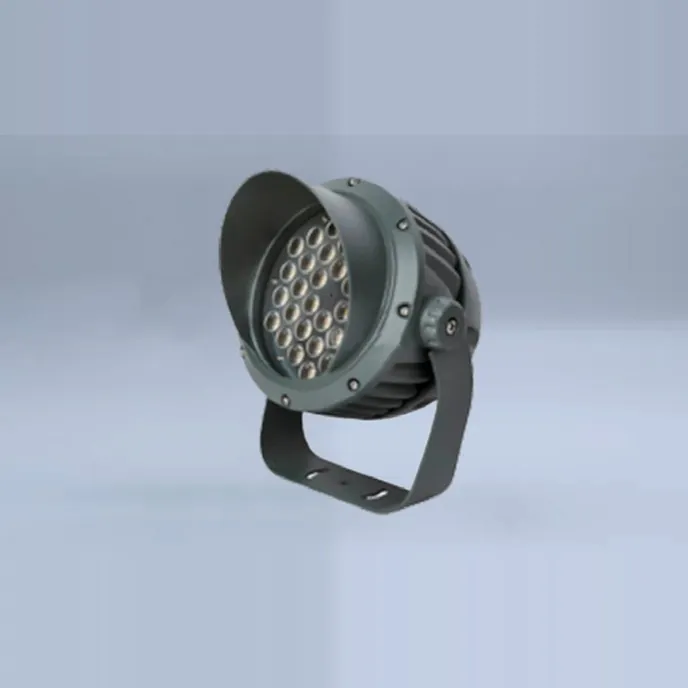
- Replace failed fixtures with sealed LED fittings, such as our LED landscape spotlight and floodlight or LED in-ground uplight
- Add a smart timer or astronomical timer that adjusts with the seasons
- Add solar lights where extending cables would be difficult; see outdoor solar lighting ideas
When to call a repair service
Call a professional landscape lighting service, or an electrician for the mains side, when:
- The transformer needs replacing and is hard-wired
- Faults keep coming back, suggesting poor installation
- Cables are buried deep under paving or structures
- The whole system needs redesigning or extending
- You are not comfortable working with electrical equipment
A good service will test the whole system, fix connectors along every run, balance loads and give a written report.
Preventing future faults
- Bury cables at least 15 cm deep and away from beds that are dug often
- Mark cable routes on a garden plan
- Use sealed connectors and leave a little slack at each light
- Check the system twice a year: spring and autumn
- Trim plants that cover lights, and clean lenses
Our landscape lighting installation guide covers how to install a system that needs fewer repairs.
For contractors and property managers
We supply LED garden, landscape and in-ground lights by project for hotels, campuses and residential developments. Send us the fixture types and quantities you need, and we will reply with options and spare parts lists.
Sources
Frequently asked questions
Why did my landscape lights stop working?
If all lights are out, check the transformer's breaker, outlet, timer and photocell first. If one run is out, look for a cut or damaged cable. If one light is out, check its lamp or LED module and its connector for corrosion.
How do you repair low voltage landscape lighting?
Find which part of the system has failed by testing voltage at the transformer, along the cable and at the light. Then replace the failed lamp, reconnect or replace corroded connectors, splice cut cables with waterproof connectors, or replace a faulty transformer, timer or photocell.
Can you replace parts in landscape lights?
Yes. Lamps, LED modules, lenses, gaskets, connectors, stakes and cable can usually be replaced. Integrated LED fixtures without replaceable modules may need replacing as a whole when the LED fails.