
Landscape Lighting Wire Connectors: Types, Which to Use and How to Make Joints Last
Landscape lighting wire connectors compared: piercing, gel-filled twist-on, crimp with heat shrink and hub connectors, which to use where, cable sizes and how to make waterproof joints.
Key points
- Most landscape lighting faults start at connectors, where water and corrosion cause dim and flickering lights.
- Piercing connectors are quick but the least durable; gel-filled twist-on and crimp-and-heat-shrink joints last far longer.
- Match the connector to the cable size, usually 10–16 AWG (about 1.5–6 mm²) for landscape lighting.
- Make joints above ground or in a small valve box where possible, with slack for future repair.
Ask any landscape lighting contractor where faults come from and the answer is the same: the connections. A low-voltage system carries relatively high currents at 12 V, so a little resistance in a corroded joint makes a big difference to the lights. Choosing the right connectors, and fitting them well, is the cheapest way to make a system last.
Why connectors matter so much
At 12 V, a 300 W run carries about 25 A. Any extra resistance in a joint causes a voltage drop and heat. Water that gets into a joint corrodes the copper, the resistance rises, and lights downstream grow dim or flicker. Over several seasons, the joint can fail completely. Good connectors keep water out and keep a solid metal-to-metal contact.
Types of connector
Piercing (quick) connectors
Supplied with many kit lights. The fixture lead clamps onto the main cable and metal teeth pierce the insulation. They are fast and need no stripping, which is why kits use them.
- Pros: quick, no tools, easy to move lights
- Cons: the pierced insulation lets water in; contacts corrode; connections loosen as the ground moves
Fine for temporary setups and DIY kits, but not the best choice for a permanent system.
Gel-filled twist-on connectors
Twist-on wire nuts inside a small housing full of silicone gel. After the wires are twisted together, the gel seals the joint.
- Pros: reliable, waterproof, quick once you have the knack, easy to redo
- Cons: need correct stripping length and wire count; bulky in tight spaces
The most common choice for professional landscape installs.
Crimp connectors with heat shrink
Butt splices or crimp sleeves, covered by adhesive-lined heat-shrink tube that melts and seals around the cable.
- Pros: very low resistance, very durable, compact
- Cons: need a crimp tool and heat gun; harder to undo
Ideal for splicing cut cables and for joints that must last for many years.
Hub and junction connectors
Some systems use a hub: a sealed box or block where several fixture leads connect to one main run. This keeps connections in one place, makes balancing voltage easier and simplifies fault finding.
Push-in and lever connectors
Push-in and lever connectors are common indoors. Only use versions specifically rated for wet or direct-burial locations, inside a sealed enclosure.
Which connector where?
| Job | Recommended connector |
|---|---|
| Fixture lead to main cable | Gel-filled twist-on, or hub connector |
| Repair of a cut cable | Crimp butt splice with adhesive heat shrink |
| Several fixtures at one point | Hub or sealed junction box |
| Temporary or seasonal lights | Piercing connector |
| Transformer terminals | Cable lugs or ferrules, tightened firmly |
Matching cable sizes
Landscape lighting typically uses:
- 10 or 12 AWG (about 6 or 4 mm²) for long or heavily loaded main runs
- 14 or 16 AWG (about 2.5 or 1.5 mm²) for shorter runs
- 18 AWG fixture leads
Check that the connector is rated for the combination of wire sizes you are joining. A connector made for two 14 AWG wires may not grip a 10 AWG cable and a thin fixture lead together properly. Our low voltage landscape lighting guide covers cable sizing and voltage drop.
How to make a good joint
- Cut back to clean, bright copper; remove any green or black corrosion
- Strip the specified length, no more
- For twist-on: twist the wires together, then screw on the connector until tight, and push it fully into the gel
- For crimp: insert fully, crimp with the correct die, tug-test, then shrink the tube until adhesive shows at both ends
- Leave a small loop of slack at each joint and each light
- Point the joint downward so water drains away
- Bury joints in a small valve box or place them just above ground under a mulch layer, so they can be inspected
Joint location and layout
Fewer joints mean fewer failures. Rather than tapping each fixture off the main cable at a different spot, many installers group fixtures in a hub or use a “T” layout, feeding a run from its middle. This also evens out voltage. Mark joint positions on a plan of the garden so future repairs are quick.
Inspecting existing connectors
If lights are dim or flicker, dig up and inspect connectors along the run. Signs of trouble:
- Green or black corrosion on the copper
- Water in the connector
- Melted or discoloured insulation
- Loose wires that pull out easily
Replace all suspect connectors on a run, not just one. A systematic check from the transformer outward, run by run, finds most faults in an hour or two.
Connectors and voltage balance
Good joints also make it easier to balance voltage across a system. Every joint adds a little resistance, and on a long run with many piercing connectors the losses add up, so lights at the end receive noticeably less voltage than lights near the transformer. LED fixtures tolerate a wider voltage range than halogen lamps, but many still dim or flicker below about 10 V. When a system is upgraded from halogen to LED, it is worth replacing the old connectors at the same time: the lower load reduces voltage drop, and fresh sealed joints keep it low for years. Measure the voltage at the first and last fixture on each run after the work, and note the readings on the garden plan for future reference.
Dielectric grease
Some installers apply dielectric grease to lamp sockets and pins to keep moisture out. It helps with sockets, but is not a substitute for a properly sealed wire joint.
Fixtures with good cable entries
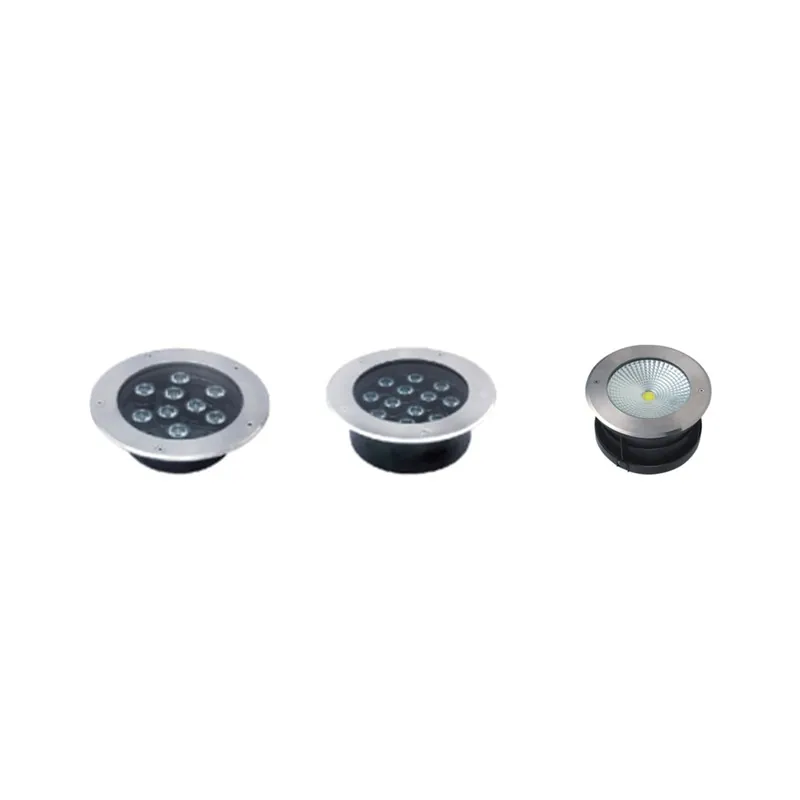
Connectors are only part of the story. Fixtures need sealed cable glands and leads long enough to reach a good joint location. Our LED in-ground uplight and landscape spotlight and floodlight have sealed entries designed for outdoor use.
Installation checklist
Before backfilling, measure the voltage at the furthest light on each run with all lights on. If it is below the fixture’s rated range, fix the run before burying it: shorten it, split it or use a thicker cable. Our landscape lighting installation guide covers the whole process.
Sources
Frequently asked questions
What are the best wire connectors for landscape lighting?
Gel-filled waterproof twist-on connectors or crimp connectors with adhesive-lined heat shrink are the most reliable. Piercing connectors are quick to install but tend to corrode over time.
Do landscape lighting connectors need to be waterproof?
Yes. Joints are buried or near the ground, where they get wet. Non-waterproof joints corrode within a season or two, causing voltage drop, dim lights and failures.
What size wire do landscape lights use?
Main runs are usually 10, 12 or 14 AWG direct-burial cable, depending on length and load. Fixture leads are often 18 AWG. Connectors must be rated for the combination being joined.