
Flood Light Mounting: Poles, Walls, Roofs and Brackets Explained
How to mount LED flood lights: wall, pole, crossarm, roof and ground mounting, bracket types and slip fitters, mounting height and aiming, wind load, cable entry and safety.
Key points
- Floodlights mount on walls, poles, crossarms, roofs or the ground using U-brackets, slip fitters, knuckles or crossarm adapters.
- Mounting height sets how far and how evenly light spreads: roughly 3–5 m for yards, 6–10 m for car parks and buildings, 15 m and above for sports and ports.
- Aim floods so the beam reaches the far edge of the area at a moderate angle, and keep glare away from roads and windows.
- Wind load, cable entry and safety cables matter, especially for large floods on poles and roofs.
A floodlight is only as good as its mounting. The same 100 W flood can light a yard evenly or blind the neighbours, depending on where and how it is fixed. This guide covers the common mounting methods and the details that make an installation safe and effective.
Mounting methods
Wall mount. The flood’s U-bracket bolts directly to a wall or to a wall bracket that holds it away from the surface. Common for building perimeters, loading bays and facades.
Pole top (slip fitter). A slip fitter clamps the flood onto the top of a pole or a pipe tenon, usually 2 in or 60 mm. Common for car parks and yards.
Crossarm. A horizontal bar on top of a pole carries two or more floods aimed in different directions. Common for sports fields and large yards.
Pole side bracket. A bracket on the side of a pole holds the flood below the top, useful when the top carries other equipment.
Roof and parapet. Floods mounted on roof edges or parapets light facades or surroundings. Needs secure fixing and fall protection during installation.
Ground mount. Floods on ground spikes or concrete bases uplight facades, trees, signs and flags.
Trunnion / knuckle. A swivel joint that allows aiming in two directions, used on smaller floods.
Mounting height
| Application | Typical height |
|---|---|
| Home yard, garage, driveway | 3–5 m |
| Warehouse perimeter, loading bay | 6–8 m |
| Car park, storage yard | 6–10 m |
| Building facade from ground | 0–2 m from a distance |
| Sports court | 6–10 m |
| Sports field | 15–25 m |
| Port, rail yard | 20–35 m (high mast) |
For wattage at each height, see the LED flood light wattage guide.
Aiming
- Aim the centre of the beam at about two-thirds of the way across the area
- Keep the tilt moderate; floods tilted close to horizontal throw glare and light into the sky
- Use asymmetric optics, which give long throw with the flood nearly flat
- Check at night from roads, neighbouring windows and walkways
- Lock the bracket bolts and record the angle on the bracket scale
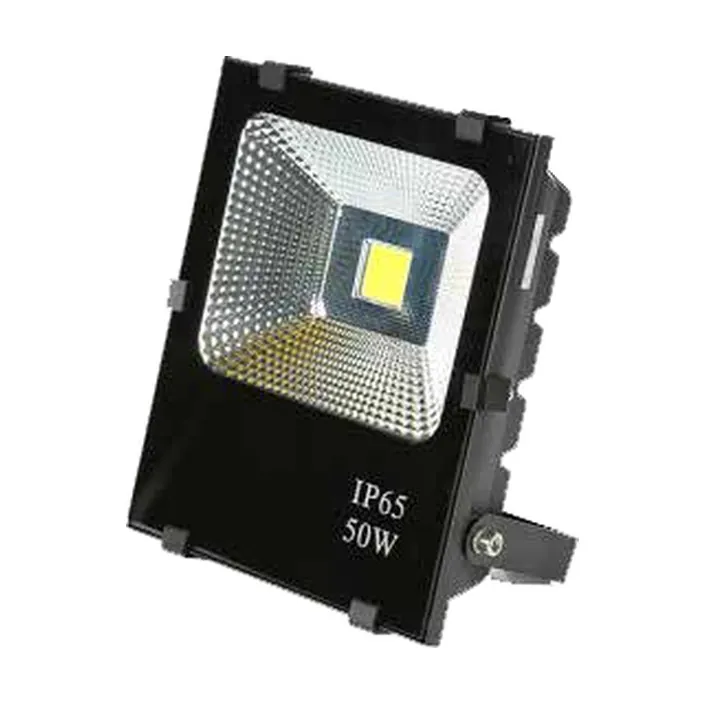
Our slim LED floodlights and modular floodlights come with adjustable U-brackets for aiming.
Wind load and structure
Large floods on tall poles catch wind. The pole, bracket and foundation must be designed for the local design wind speed and the floods’ projected area and weight. Adding floods to an existing pole needs a structural check. Use stainless or galvanised fixings, and on high or exposed positions add a secondary safety cable.
Cable entry and sealing
- Route cables so water drips away from the flood, not into the cable gland
- Use a drip loop below the entry
- Make connections in a sealed junction box
- Tighten glands on cables of the correct diameter
See waterproof outdoor LED flood lights for sealing details.
Wall mounting tips
- Fix to solid masonry or structural members, not cladding alone
- Use stand-off brackets so the flood can tilt without hitting the wall
- Keep floods above reach where vandalism is a risk, usually 3 m or more
- Mount sensors where they see the approach paths
Pole mounting tips
- Match the slip fitter to the pole or tenon diameter
- Check that the pole’s top can carry the weight
- For crossarms, balance floods on both sides
- Allow access for maintenance: lift access or a lowering system on tall masts
Roof mounting tips
- Use purpose-made parapet brackets or ballast frames
- Avoid penetrating waterproof membranes where possible
- Consider wind uplift and snow loads
- Plan safe access for future maintenance
Ground mounting tips
- Use concrete bases for larger floods
- Protect cables in conduit
- Place floods where people cannot look straight into them
- Check drainage around the base
Safety
- Isolate circuits before work
- Use lifts or scaffolds suited to the height
- Follow local electrical codes; mains work by qualified electricians
- Secure tools and parts when working above walkways
Common mistakes
- Floods tilted up to “reach further”, causing glare and sky glow
- Wrong slip fitter size, leading to loose floods
- Cable entry pointing up, letting water in
- No structural check when adding floods to old poles
Choosing mounting for maintenance
Think about how each flood will be reached for cleaning, re-aiming and repair. Wall floods at 4–6 m can be reached with a ladder or small lift; floods at 10 m on poles need a boom lift; floods on masts above 20 m need a lowering system. Choosing positions that maintenance crews can reach safely avoids lights being left dark for months because access is difficult.
Security considerations
Floods used for security should be out of reach, so they cannot be turned or broken, and should light faces and approach paths rather than only the ground. Combining them with cameras requires care: aim floods to light the scene from behind or beside the camera, not into the lens. Motion-activated floods mounted where intruders approach give both deterrence and better camera images.
Record keeping
For larger sites, keep a simple schedule of every flood: position, mounting height, wattage, optic, aiming angle and installation date. It speeds up repairs and re-aiming after storms.
Ordering
Send us the mounting positions, heights, the area to be lit and any existing poles or brackets. We will propose floods, brackets and fitters, and suggest aiming angles.
Sources
Frequently asked questions
How high should a flood light be mounted?
For homes and small yards, about 3–5 m. For car parks, building facades and storage yards, 6–10 m. For sports fields, ports and large areas, 15–30 m on high poles or masts. Higher mounting gives more even light and less glare.
How do you mount a flood light on a pole?
Use a slip fitter that clamps onto the pole top or a tenon, a crossarm for several floods, or a U-bracket bolted to a pole bracket. Check that the pole is rated for the floodlights' weight and wind area.
What is a U-bracket on a flood light?
A U-shaped yoke that holds the floodlight and lets it tilt. It bolts to a wall, crossarm or pole bracket, and often has an angle scale for aiming.